Public USB firmware installer
Install the firmware now
Choose your product and install mode, then connect the supported board by USB in desktop Chrome or Microsoft Edge. No Arduino IDE, compilation, or coding experience is required.
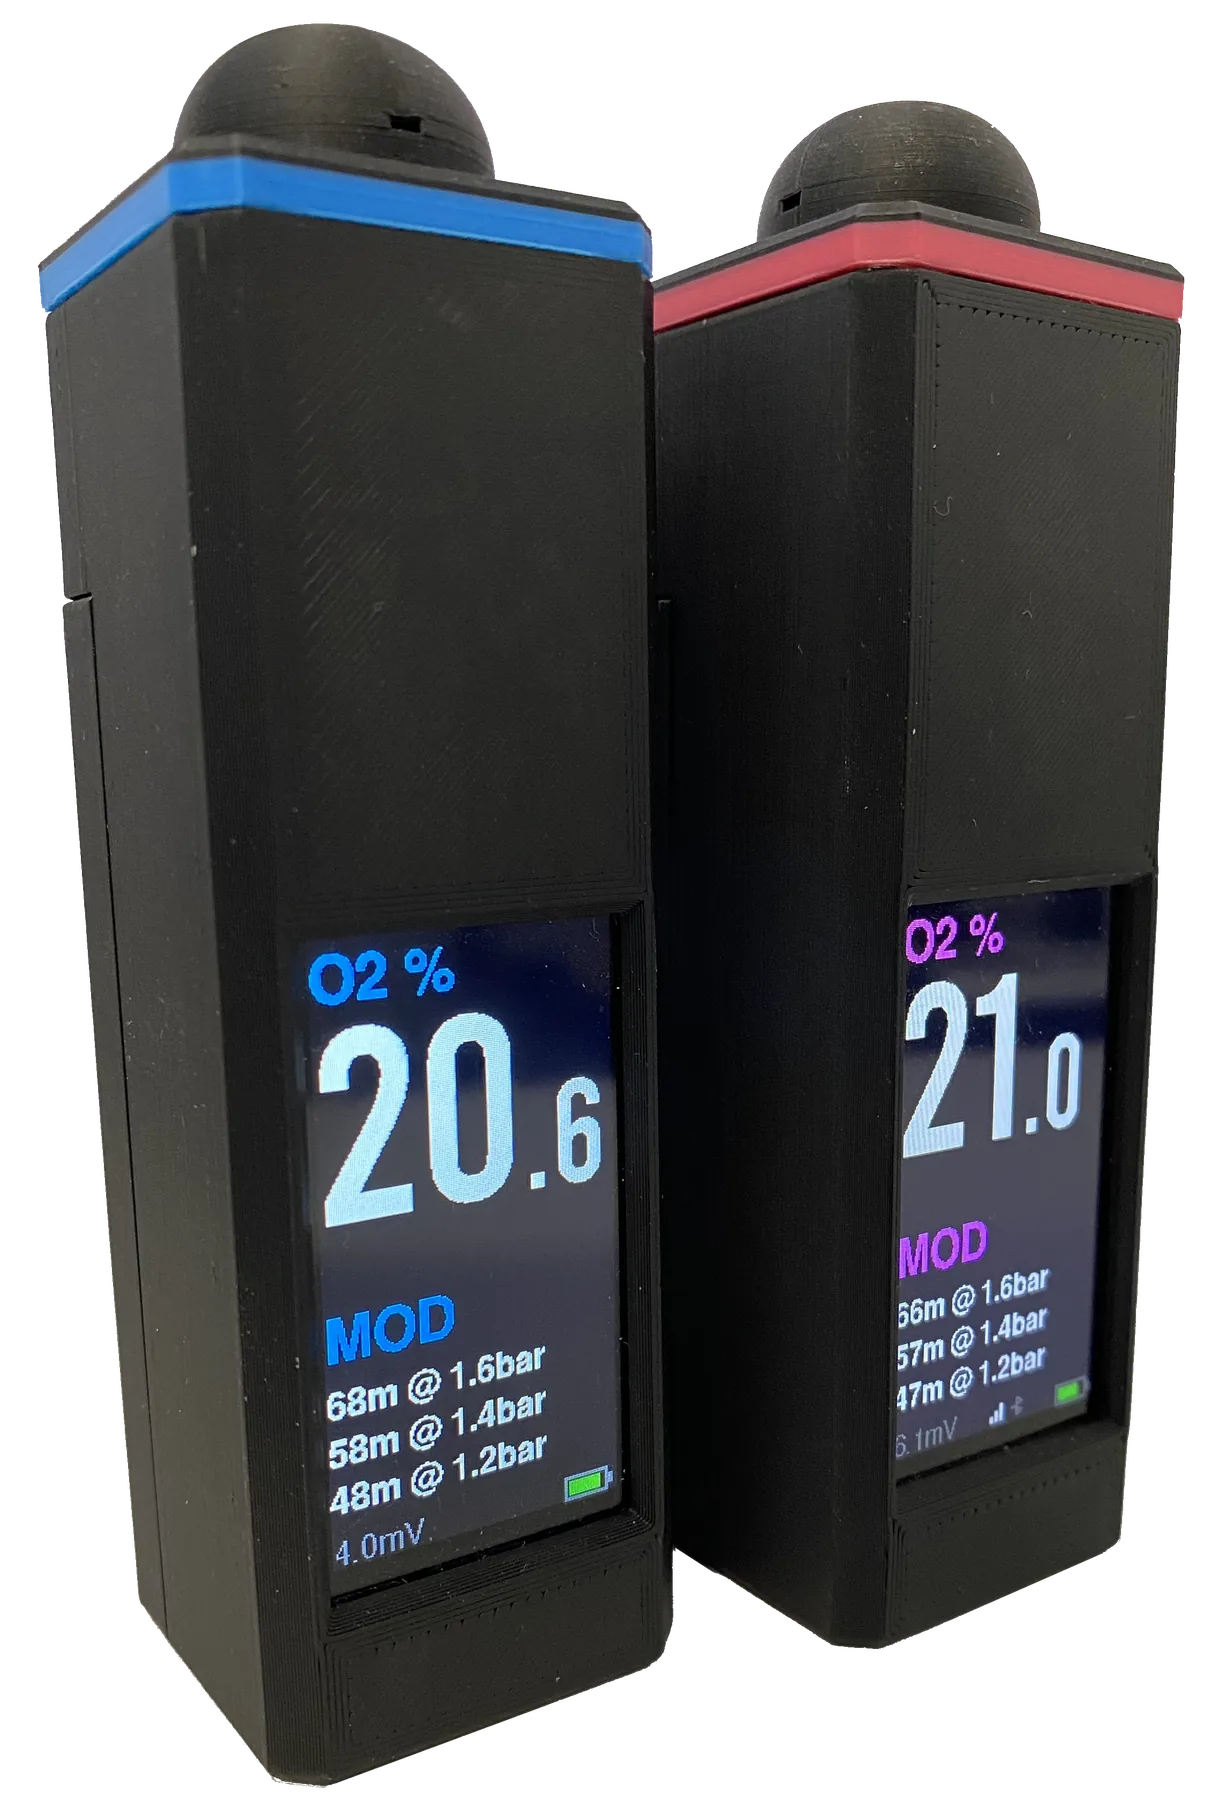 Nitrox Analyser
DIY oxygen analyser firmware with a local Web UI and Bluetooth label printing.
version
Open Nitrox page
Nitrox Analyser
DIY oxygen analyser firmware with a local Web UI and Bluetooth label printing.
version
Open Nitrox page
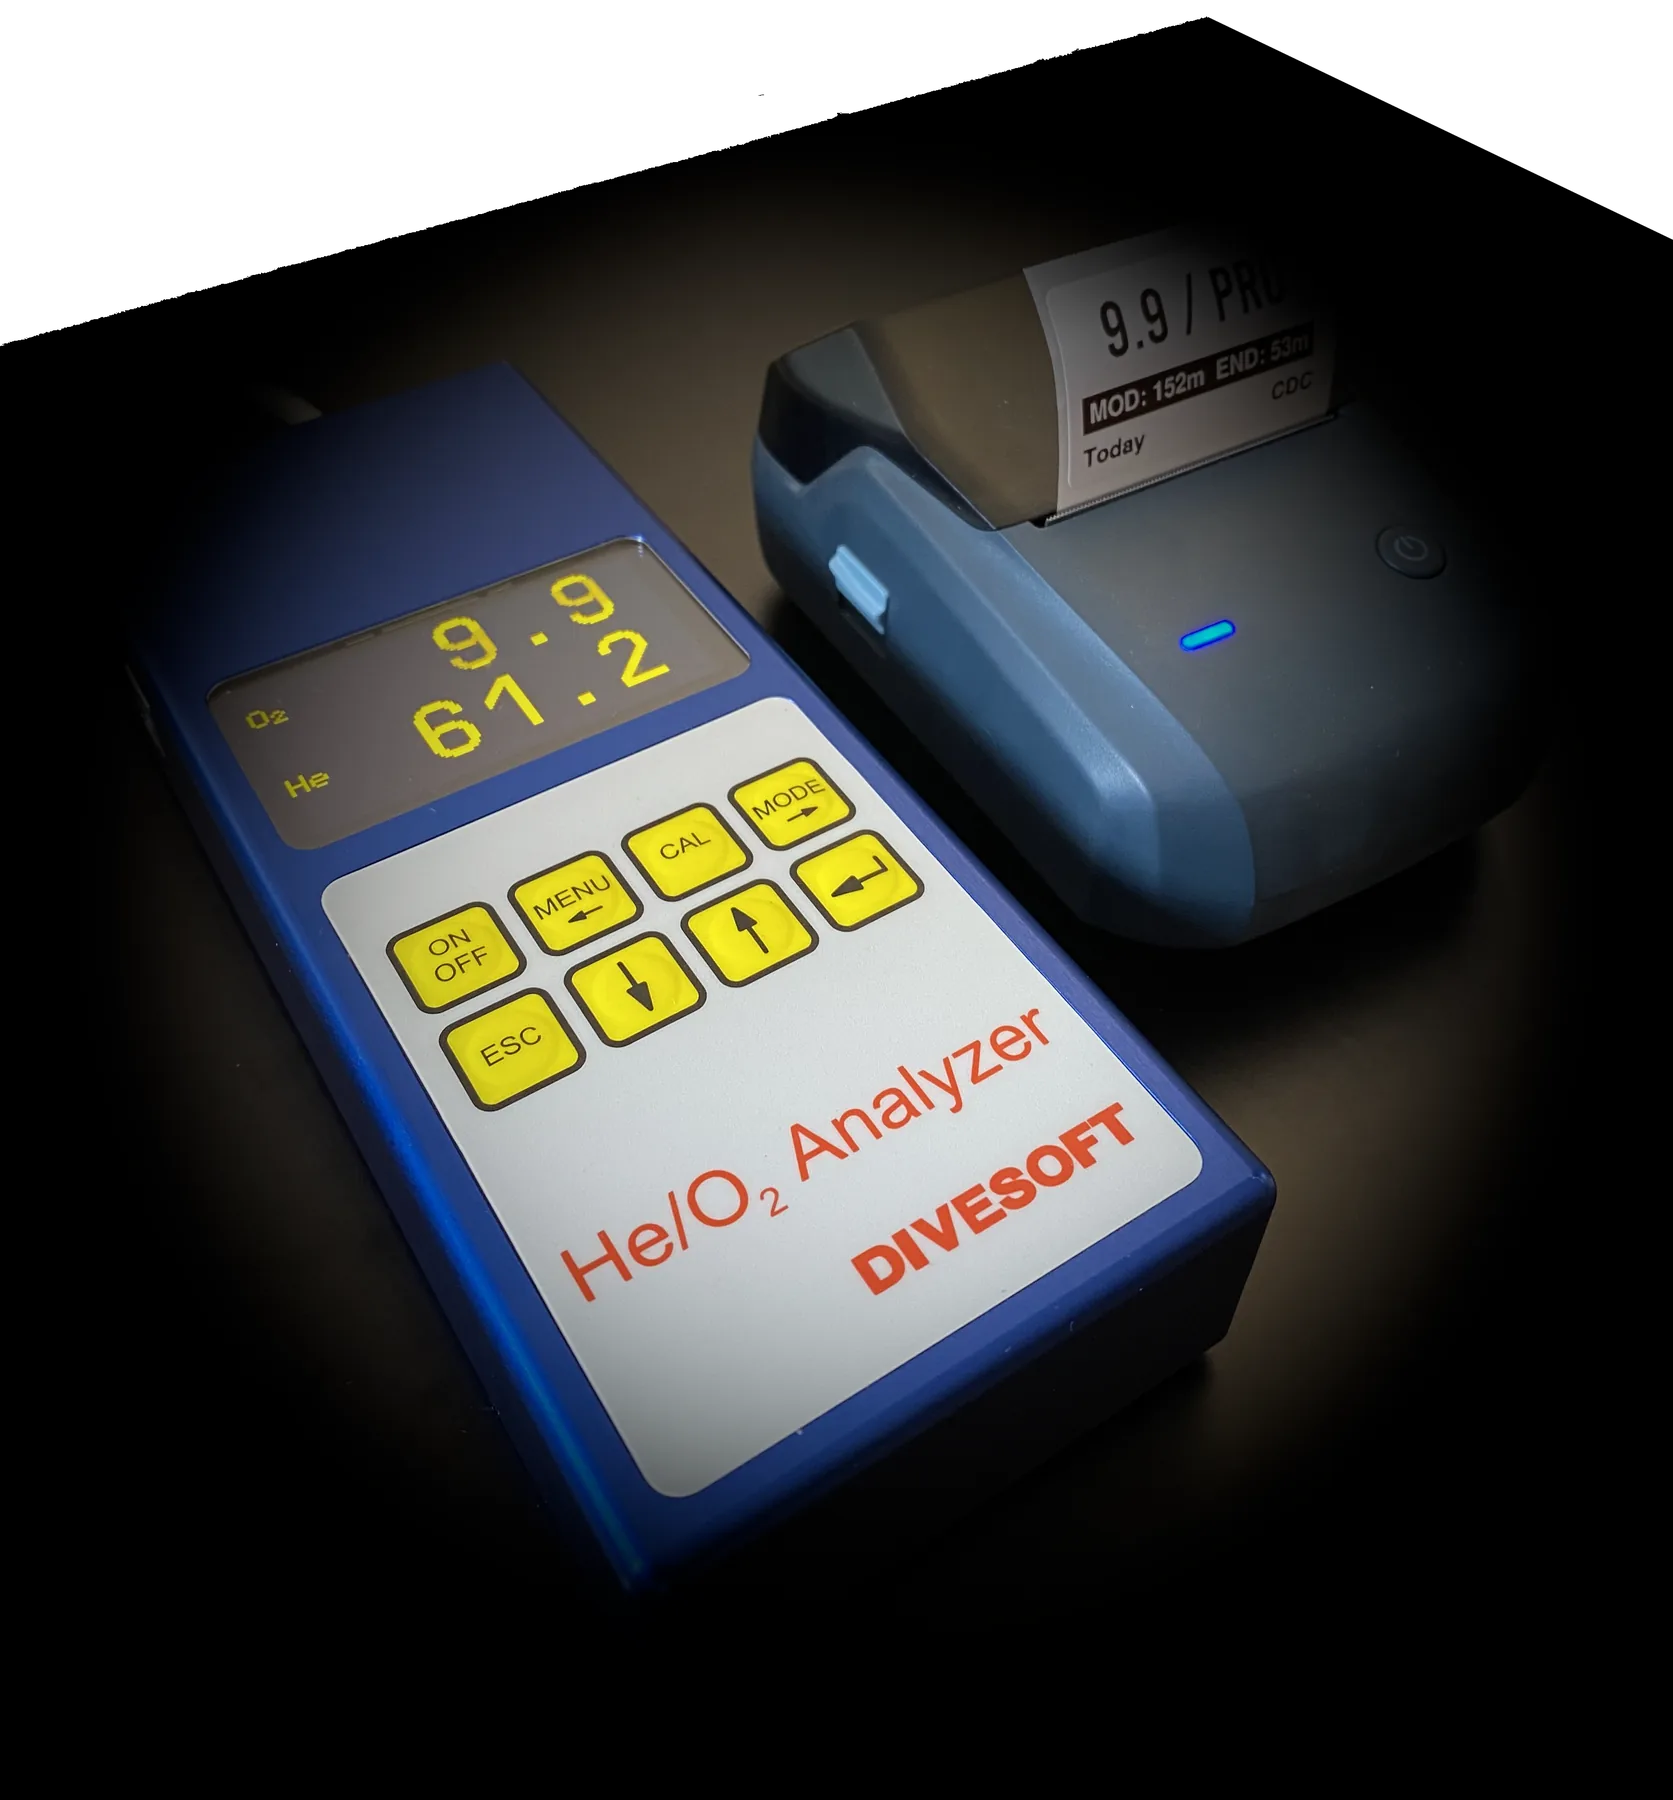 Trimix Analyser Connector
Send Divesoft analyser readings to a Niimbot B1 Bluetooth printer.
version
Open Trimix page
Trimix Analyser Connector
Send Divesoft analyser readings to a Niimbot B1 Bluetooth printer.
version
Open Trimix page
Build first. Try it. Decide later.
Nitrox Analyser software
Order the parts, assemble your analyser, and flash the firmware before buying a licence. Try startup, the local Web UI, and the oxygen cell's live millivolt signal without activation. Get your build working first, then decide whether to buy a licence for additional features. To buy, email the 12-character Device ID from the Web UI.
one-off digital licence
The licence enables Bluetooth Nitrox label printing and saved print history. Hardware checks do not replace calibration and independent verification before use. Request licence by emailHow to get the upgrade licence
- Assemble your hardware, install the firmware, and try the available features before buying a licence.
- Open its local Web UI and copy the 12-character Device ID from the Licence section.
- Email the Device ID using the request button above. Online card payment is not enabled yet.
- After purchase is arranged, paste the code you receive into Activate existing key.
ESP32-S3 hardware only
Nitrox requires a LilyGo T-Display S3. The Trimix Analyser Connector requires a compatible ESP32-S3-Zero board; based on our testing, we recommend a non-Waveshare version for better reliability. Do not flash an ESP32-C3, ESP32-C6, ESP32-S2, ESP8266, generic ESP32, or another board with different pins.
For the Trimix Analyser Connector, disconnect the adapter completely from the Divesoft analyser before flashing. Connect only the ESP32-S3-Zero by USB; leaving analyser wiring connected can backfeed or short signals and damage the adapter or analyser.
Install carefully and verify before diving
Before erasing or writing, the installer checks whether the connected board matches the selected product's chip family and flash capacity: ESP32-S3 with 16 MB for Nitrox, or 4/8 MB for Trimix. A mismatch blocks installation before flash memory is changed. These checks cannot identify the exact board model or wiring; use only the specified board. Use update-only for a compatible installed device that must keep its settings and licence. Use full install for a new board, recovery, or when support tells you to use it. Independently verify analyser readings and every printed cylinder label before diving.